The fresh pasta recipe is hopefully like my time between blogs, worth the wait. I have been making this recipe since my days at Tomasso Trattoria with Chef Tony when I was fresh out of culinary school. It is fairly time consuming, but there is really nothing quite like the process of seeing a pile of flour and eggs turn into silky smooth noodles. Still kind of amazes me every time. So here’s the deal with the flours: ’00’ flour refers to how finely it is ground. ’00’ is the finest, so we combine the ’00’ with semolina (durum wheat flour) which gives it some structure and helps to make it ‘al dente’
The recipe (cut down by 4 times from the original) is:
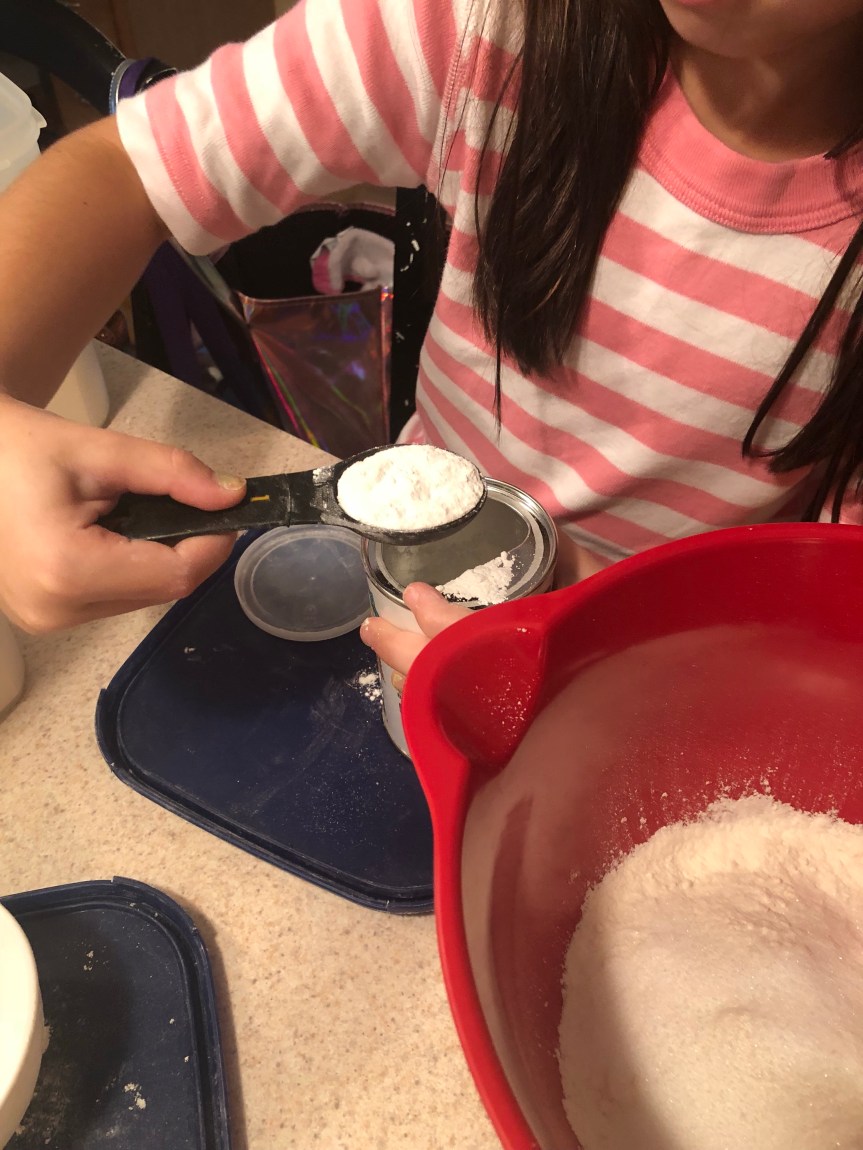
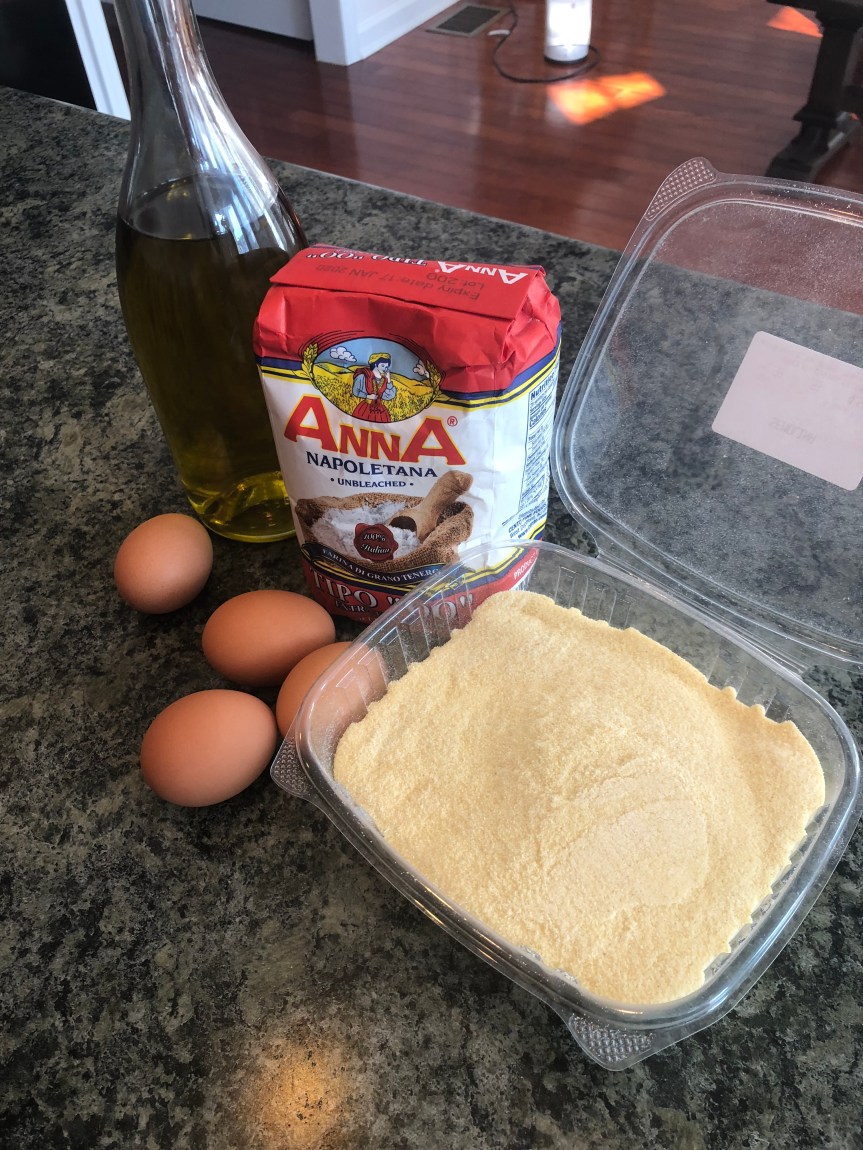
2 1/2 cups ’00’ flour
1/2 cup semolina flour
4 large eggs
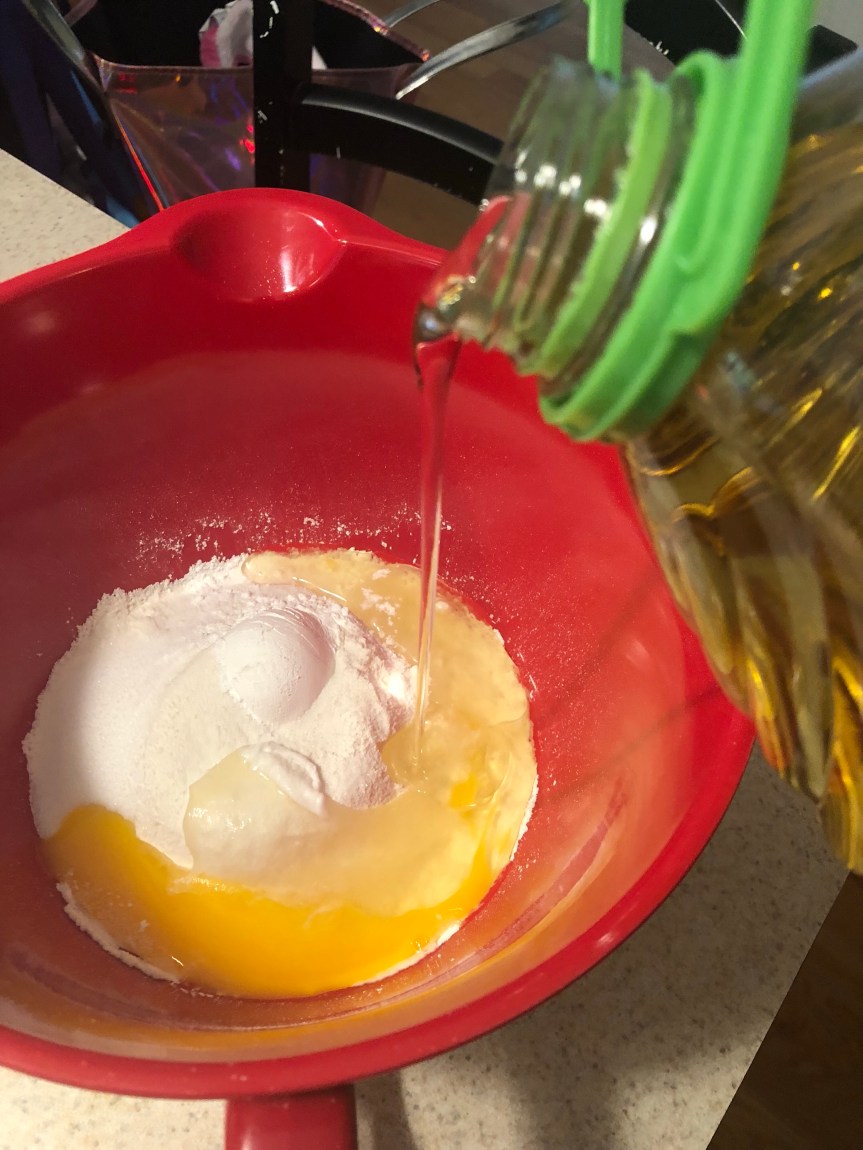
1 Tablespoon Olive Oil
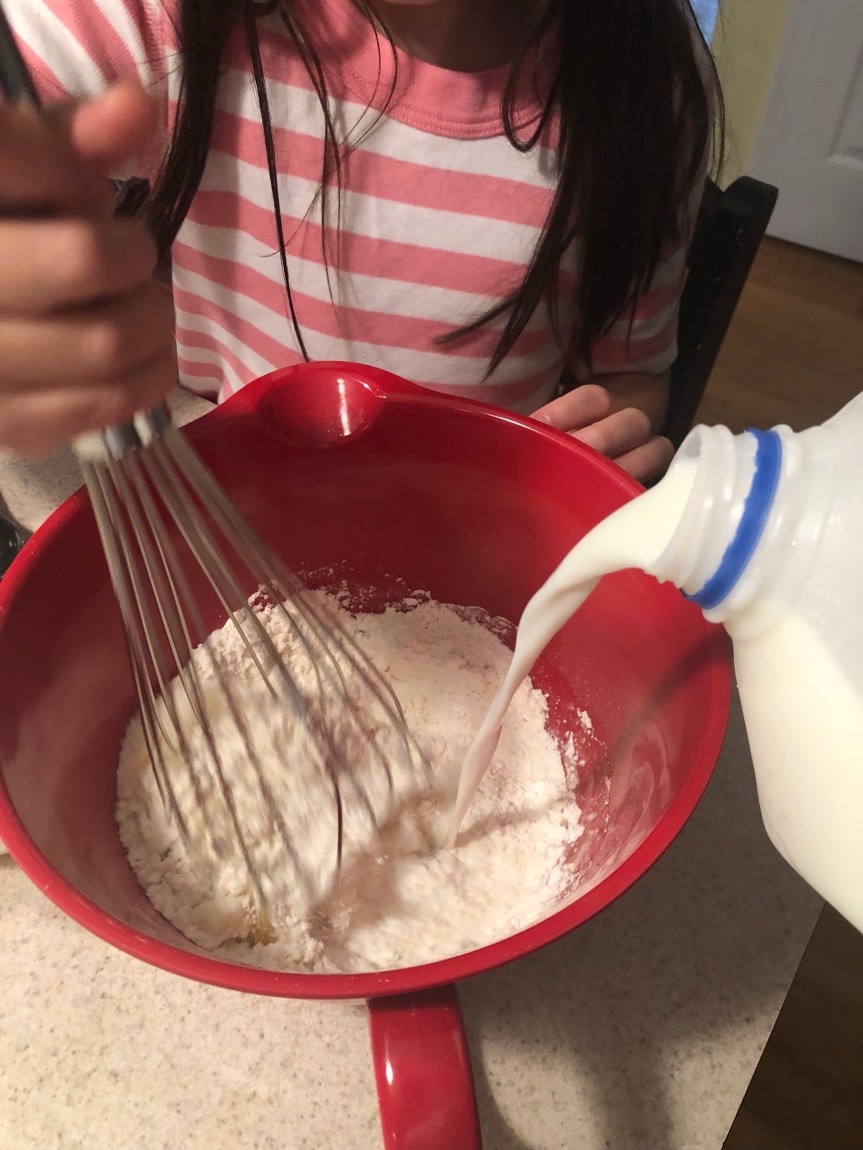
Water if necessary
Dump the Flours directly onto your work surface in a mound

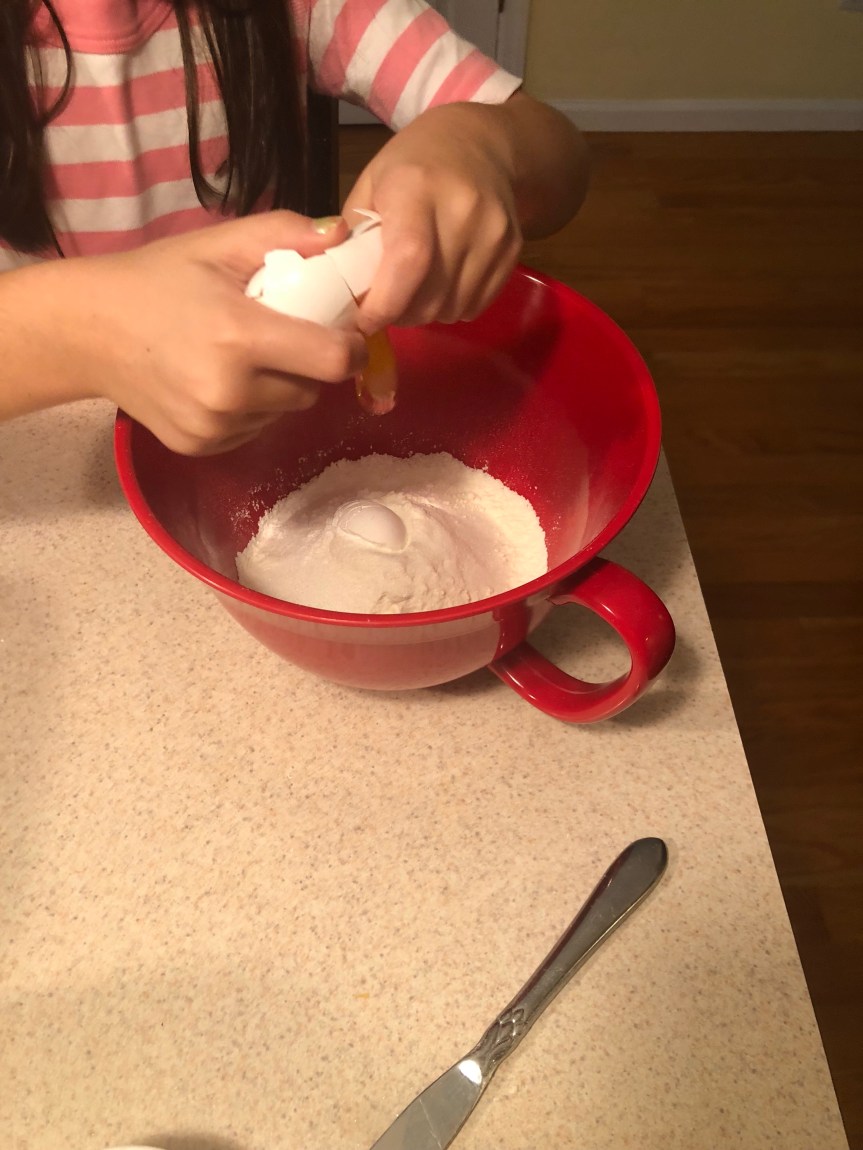
With the back of your hand, make a well large enough to hold the wet ingredients (this is always the first mistake made by first-timers, make it wide enough to hold the eggs!)

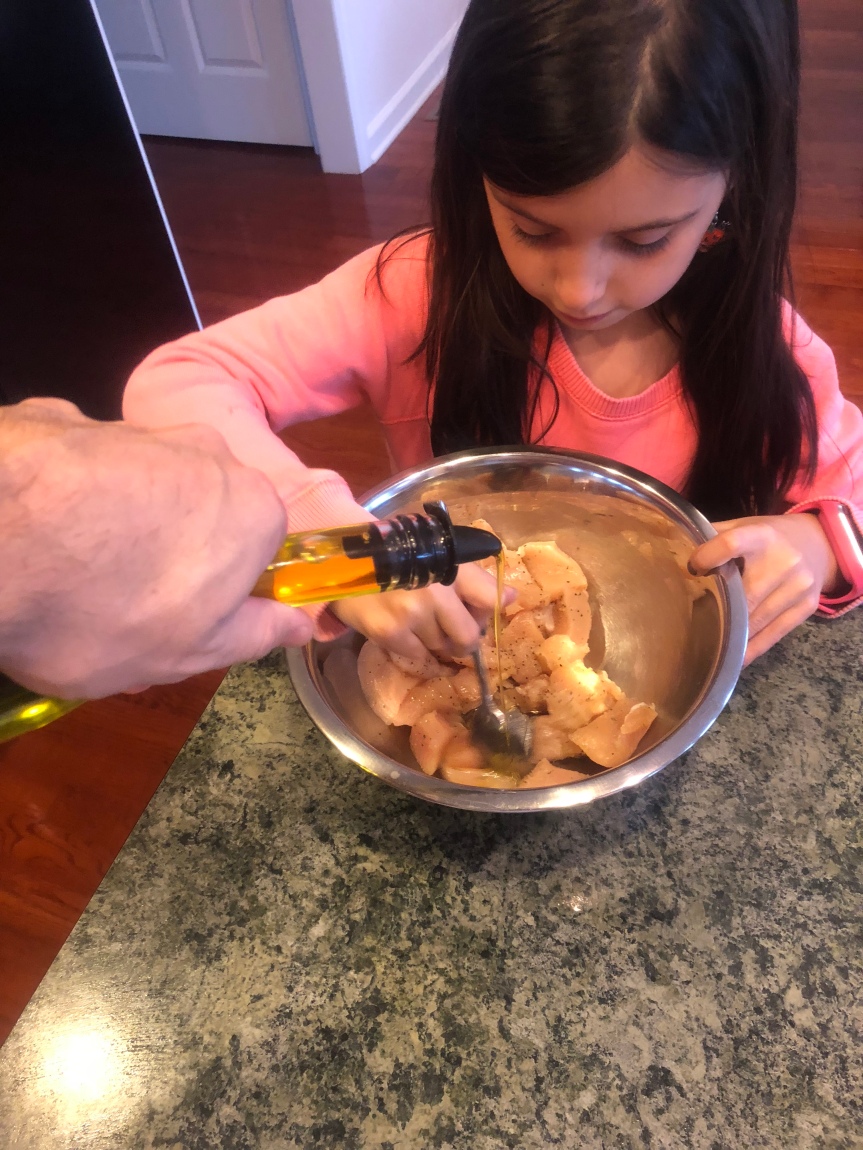
Drop your eggs into the well and add olive oil

Start scrambling the eggs with a fork while slowly incorporating some of the flour
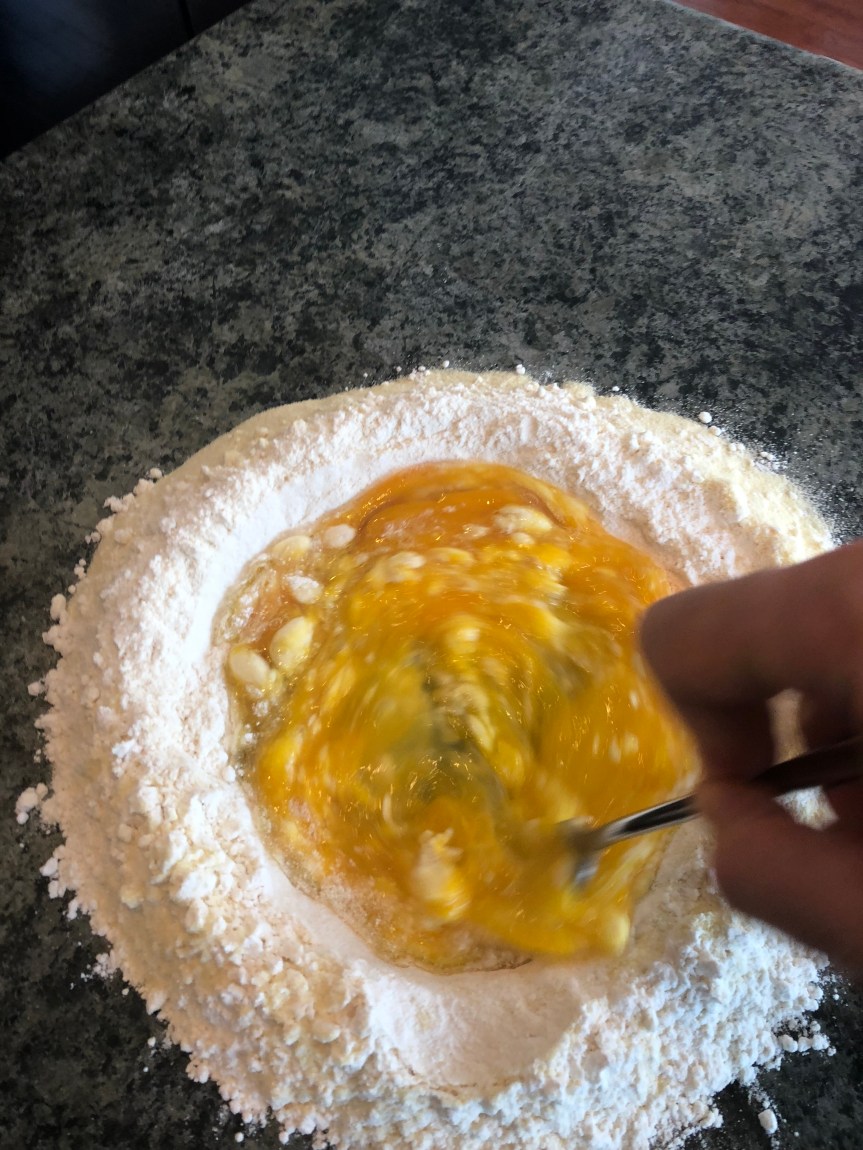
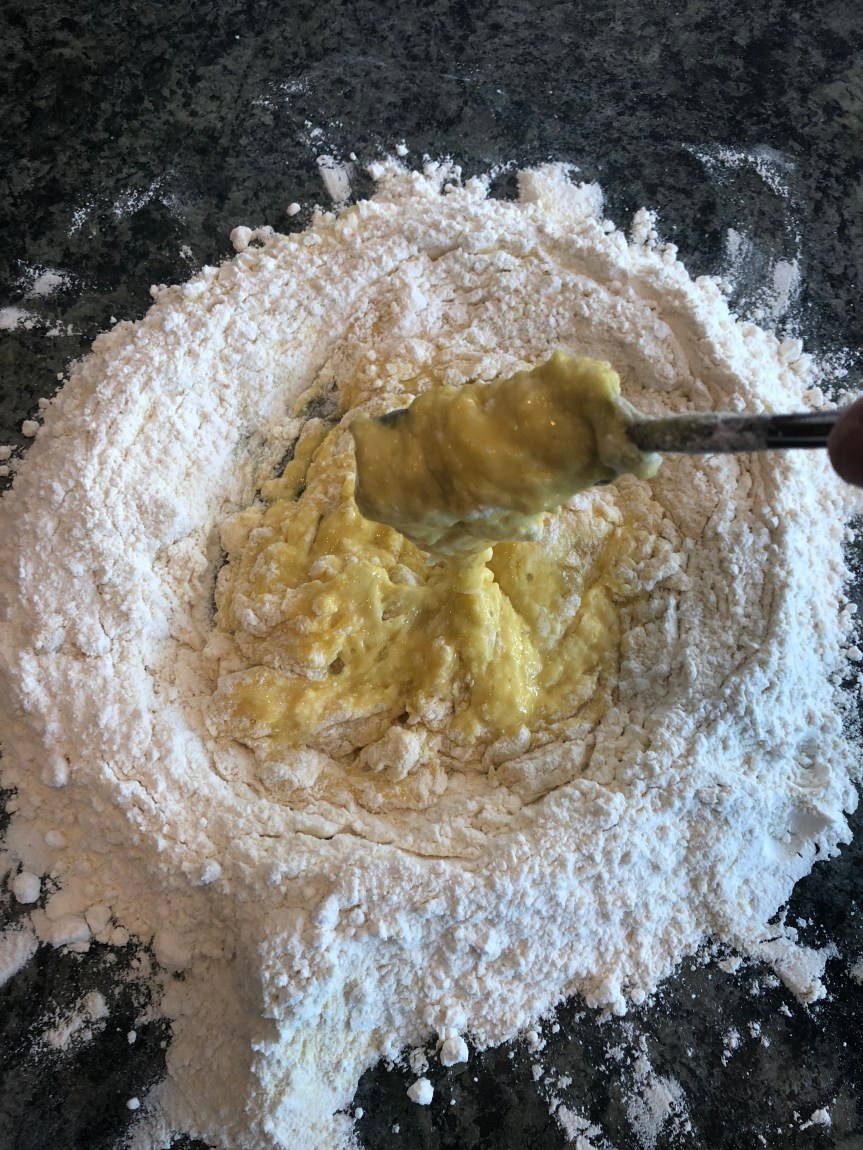
As soon as you are able to knead by hand, get rid of the fork
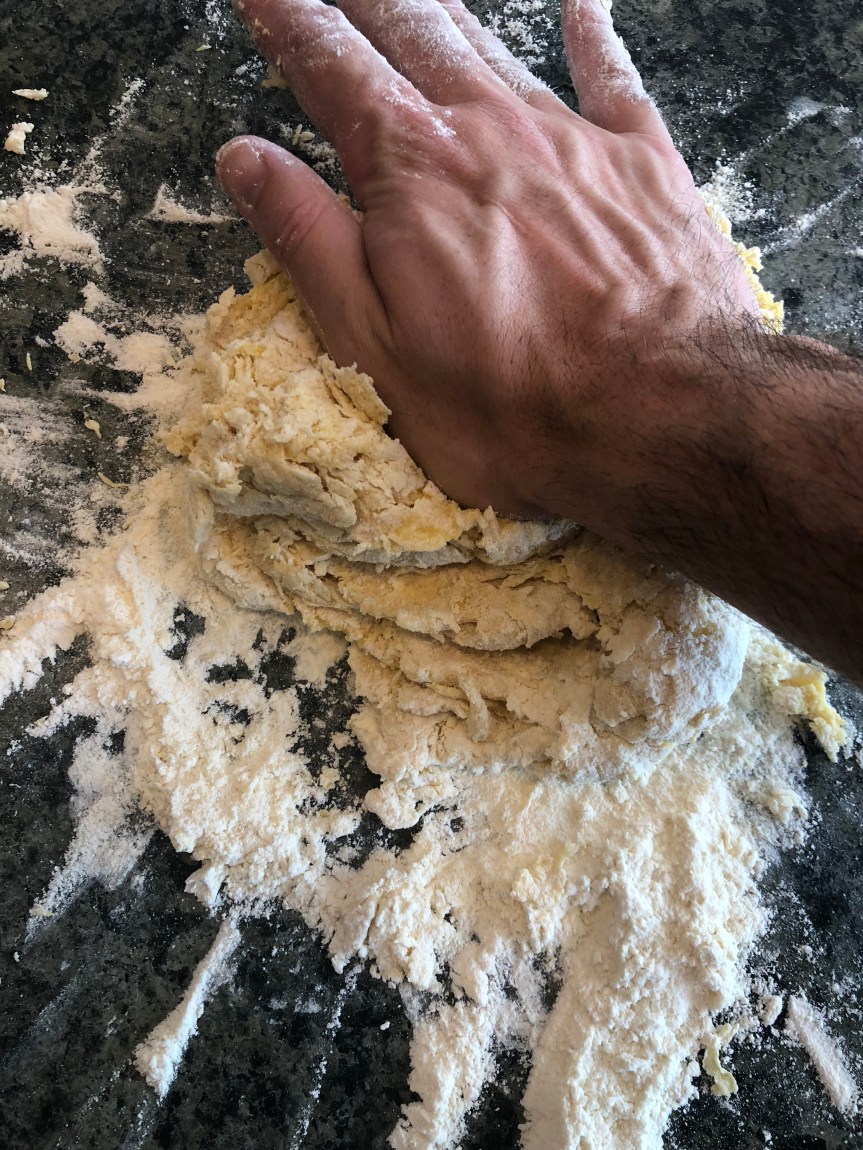
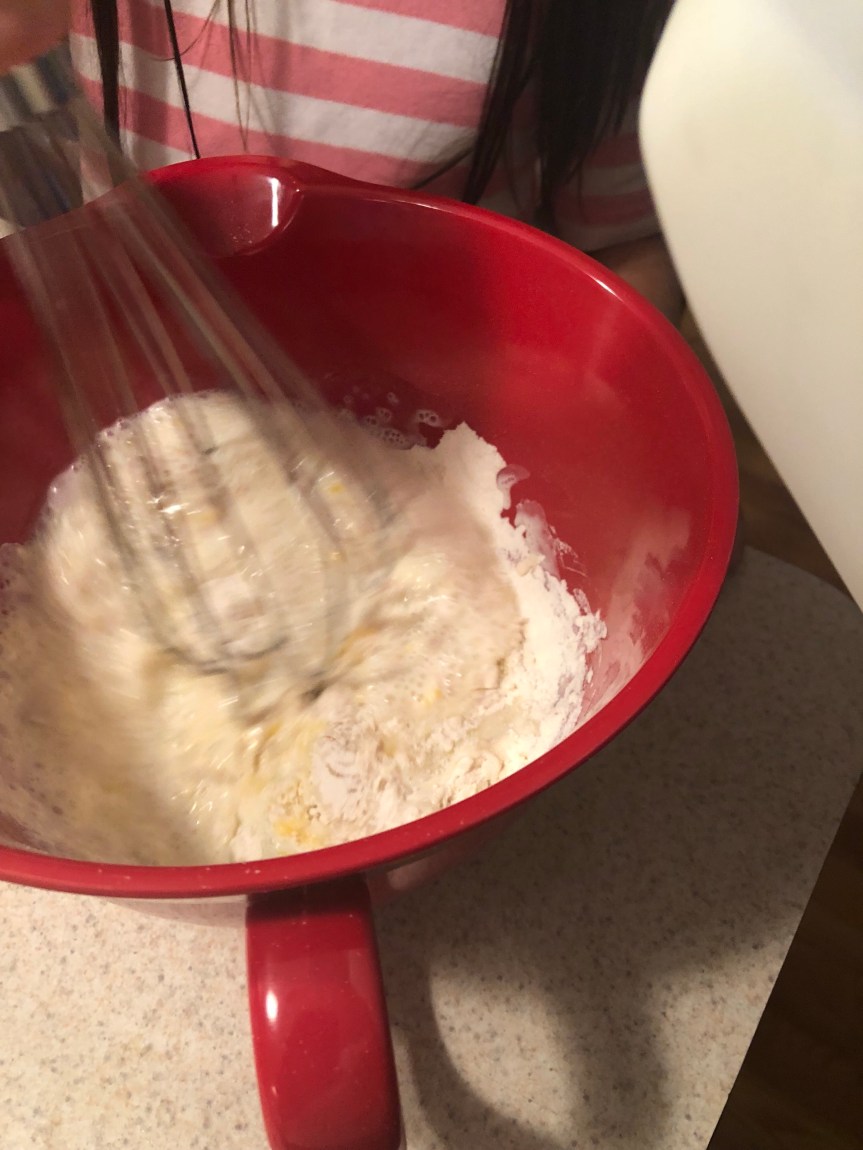
Knead the dough by folding it into itself, this is the most difficult part of the process, all of the flour should get absorbed by the end
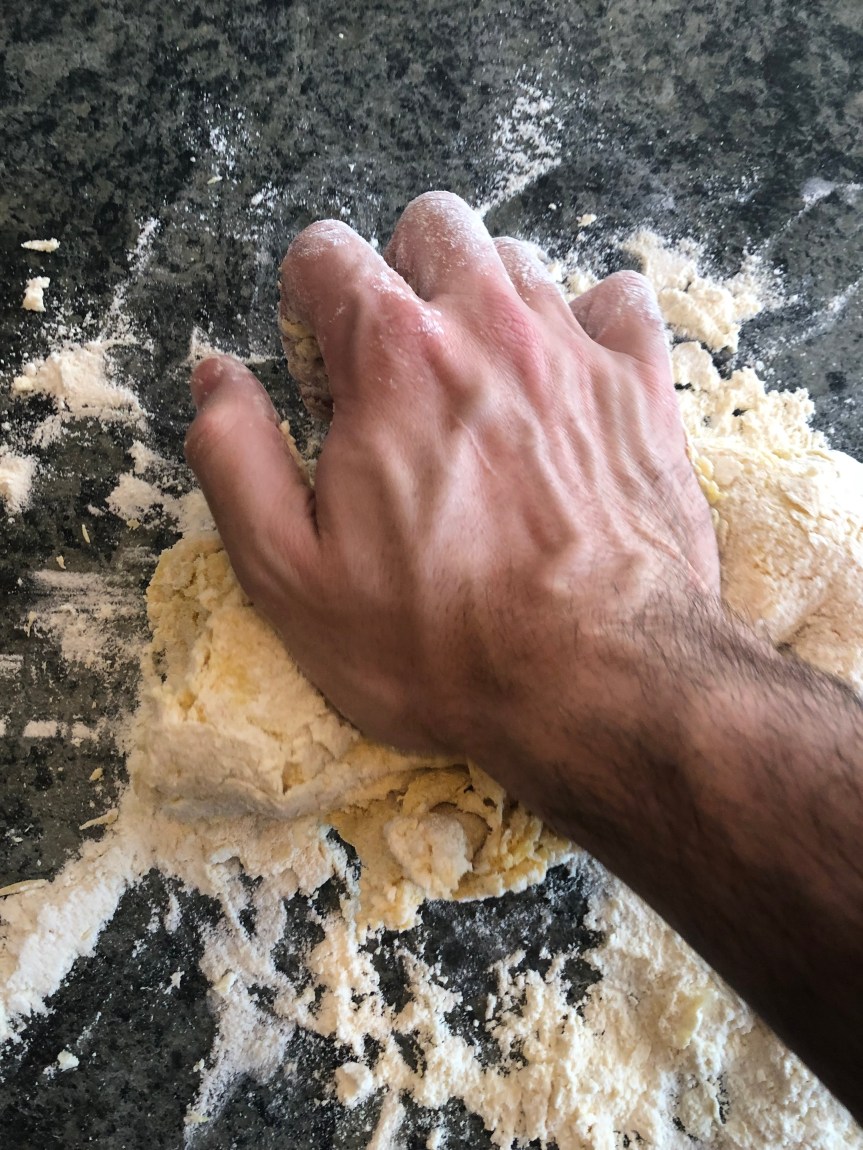

Continue to knead until the dough ball forms, and has some bounce back when you press it with your finger (you can do this in a mixer if you can’t handle it! I just can’t give you any tips on that, because I have never really done it that way)
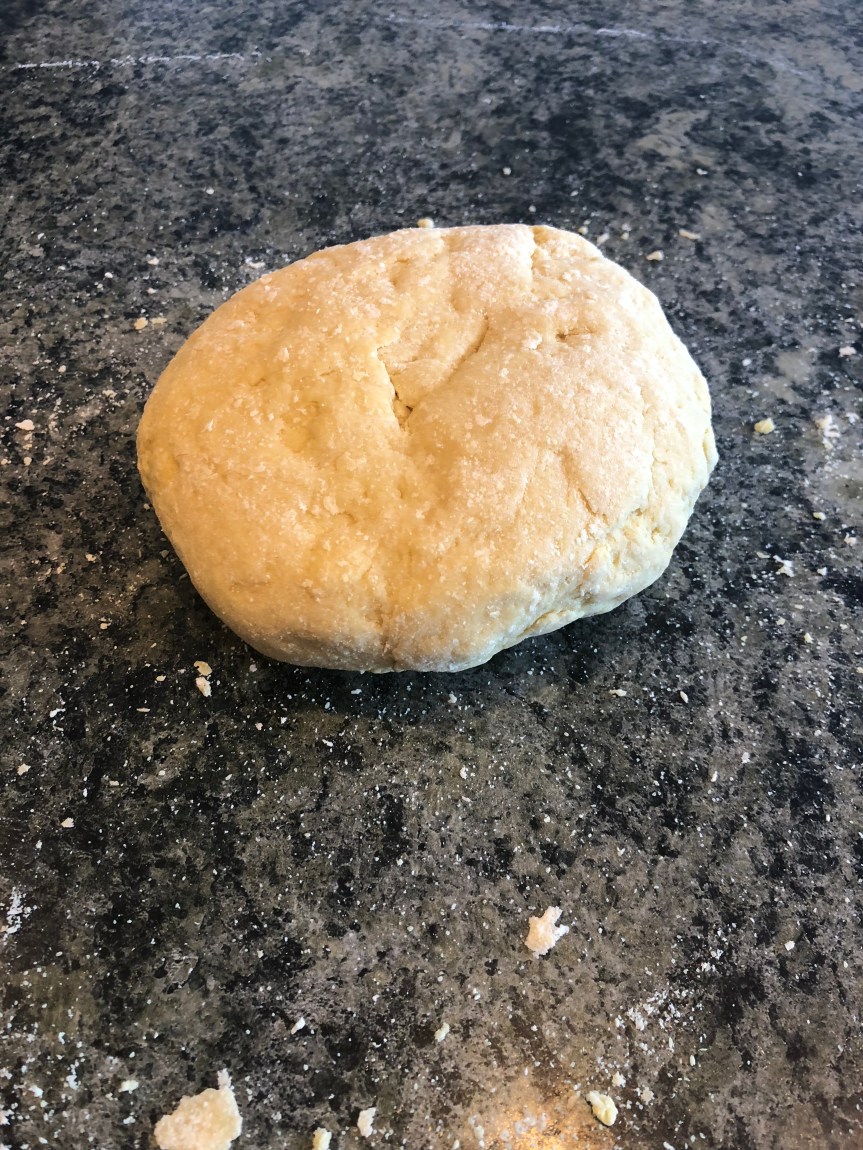
Once the ball is formed, has some bounce back, and all flour is absorbed, wrap in plastic or cover with an upside down bowl and let it rest for a solid 10-15 minutes. You will notice the gluten structure relaxed during this step
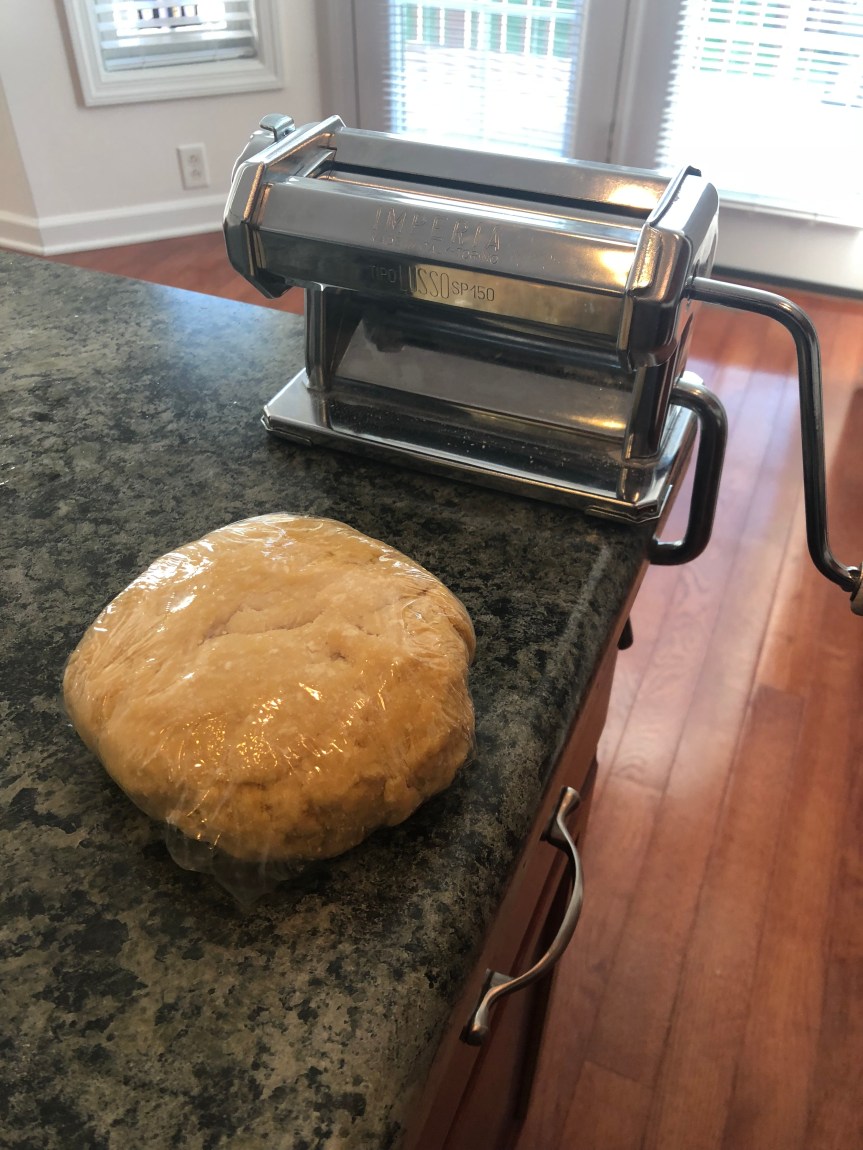
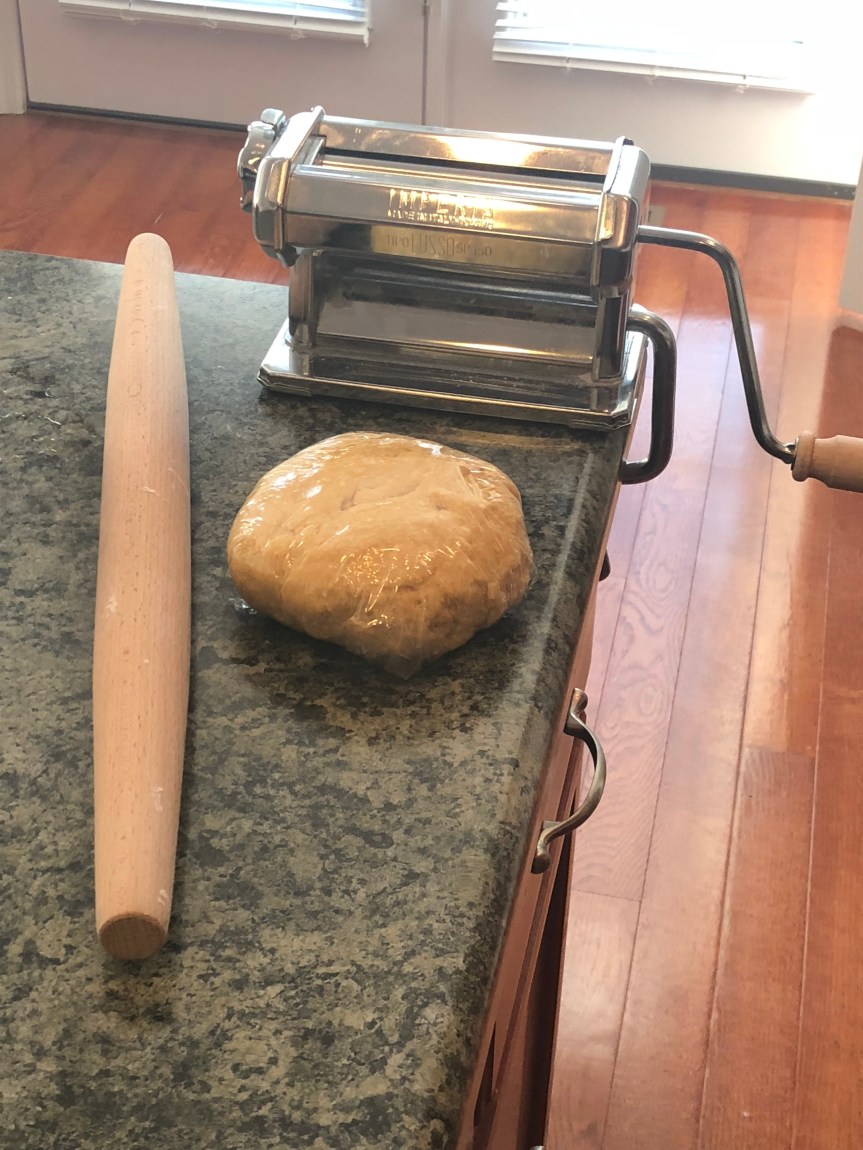
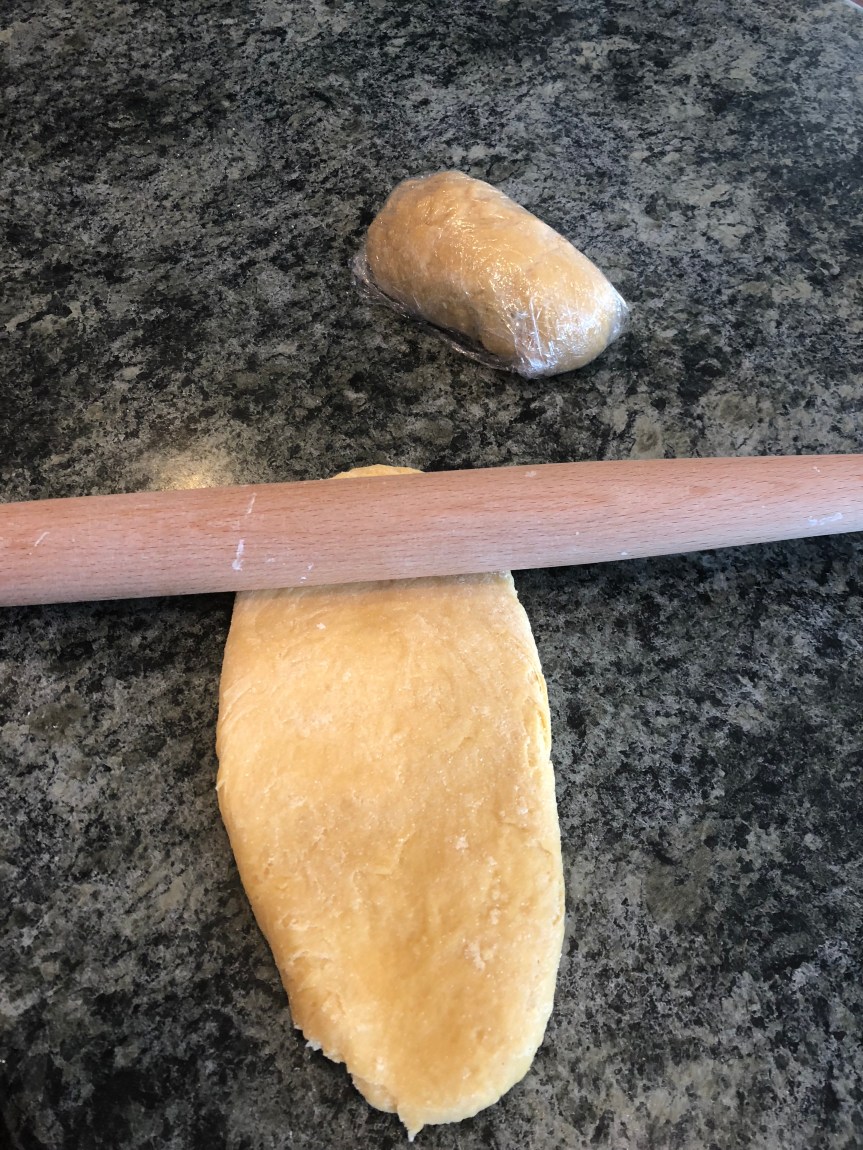
Depending on the size of your pasta roller, you may have to cut the dough in half and roll out 2 separate times. My home roller is MUCH smaller than ones we’ve used over the years at restaurants, make sure to keep the other half wrapped while it waits it’s turn. Using a rolling pin, roll the dough until it is thin enough to roll through the widest setting in your machine.
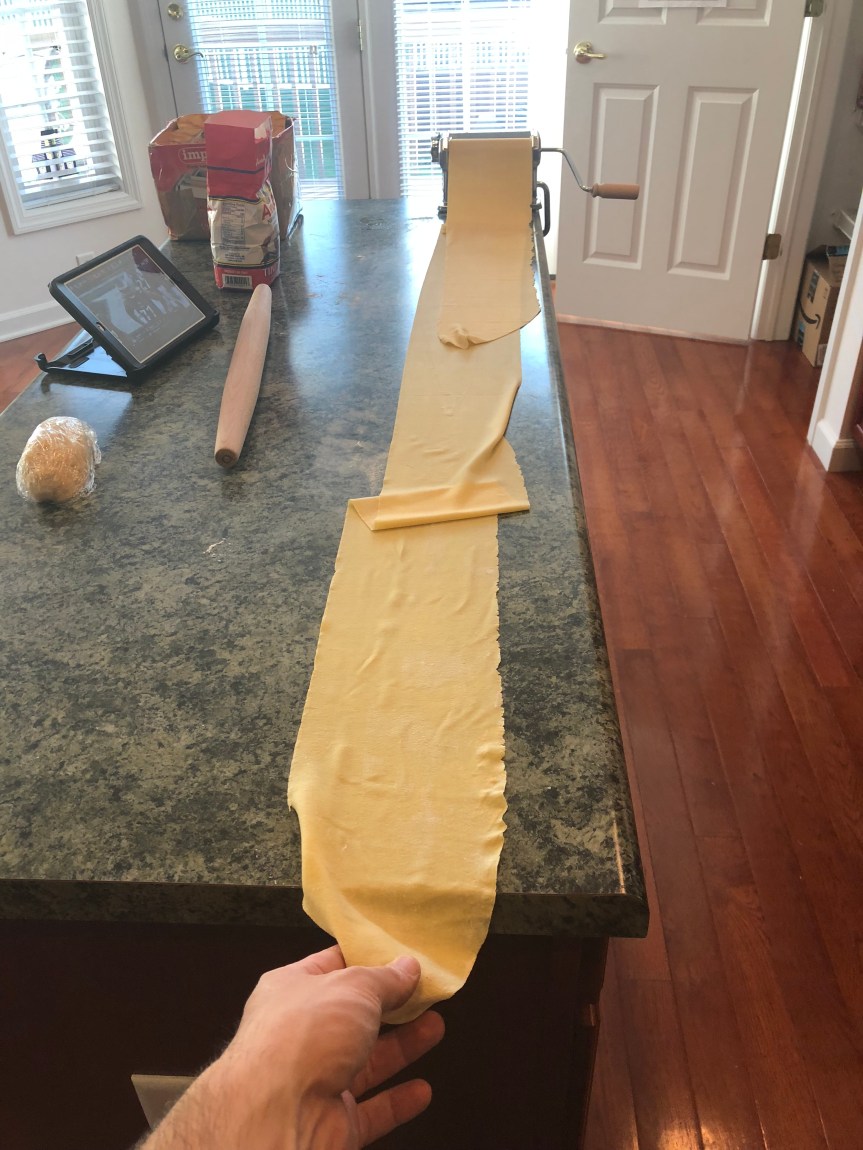
Once you roll it through the widest setting, adjust to the next size down and repeat 2-3 more times, making the roller slightly thinner each time through
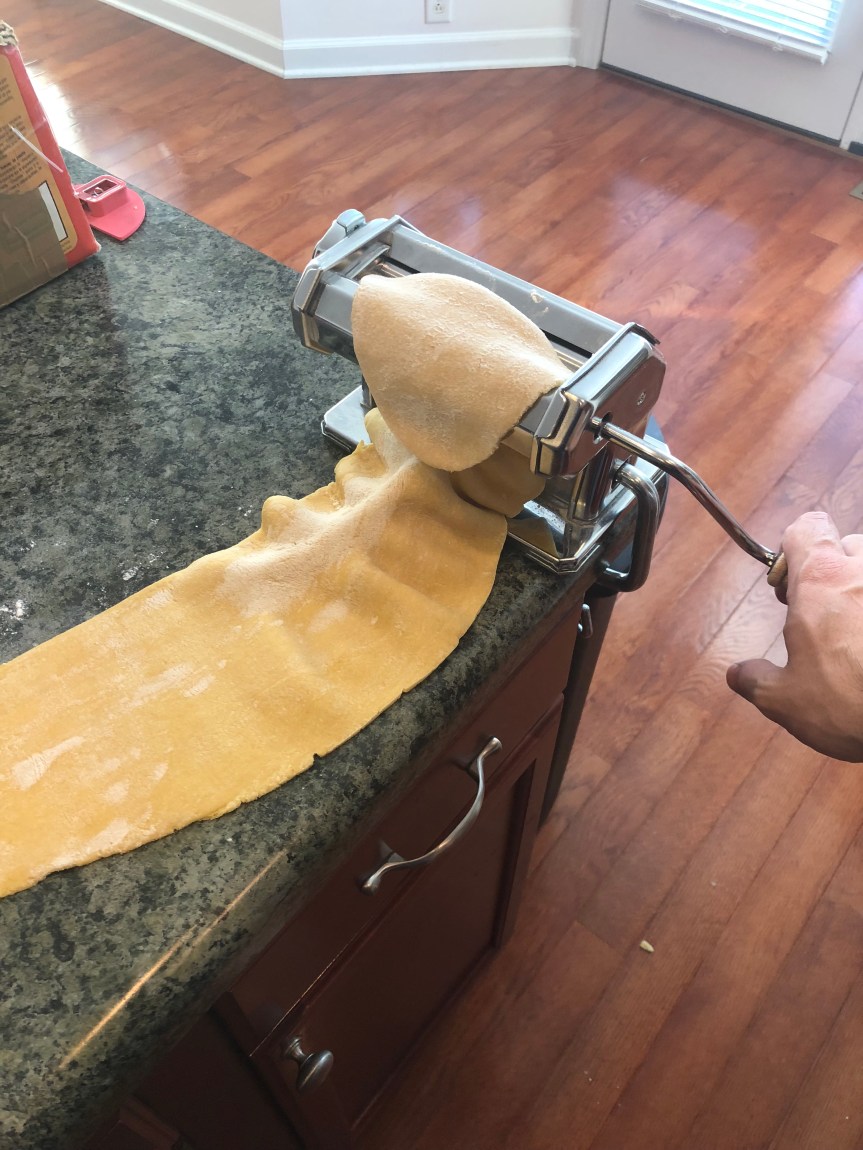
Make sure you have a long table!
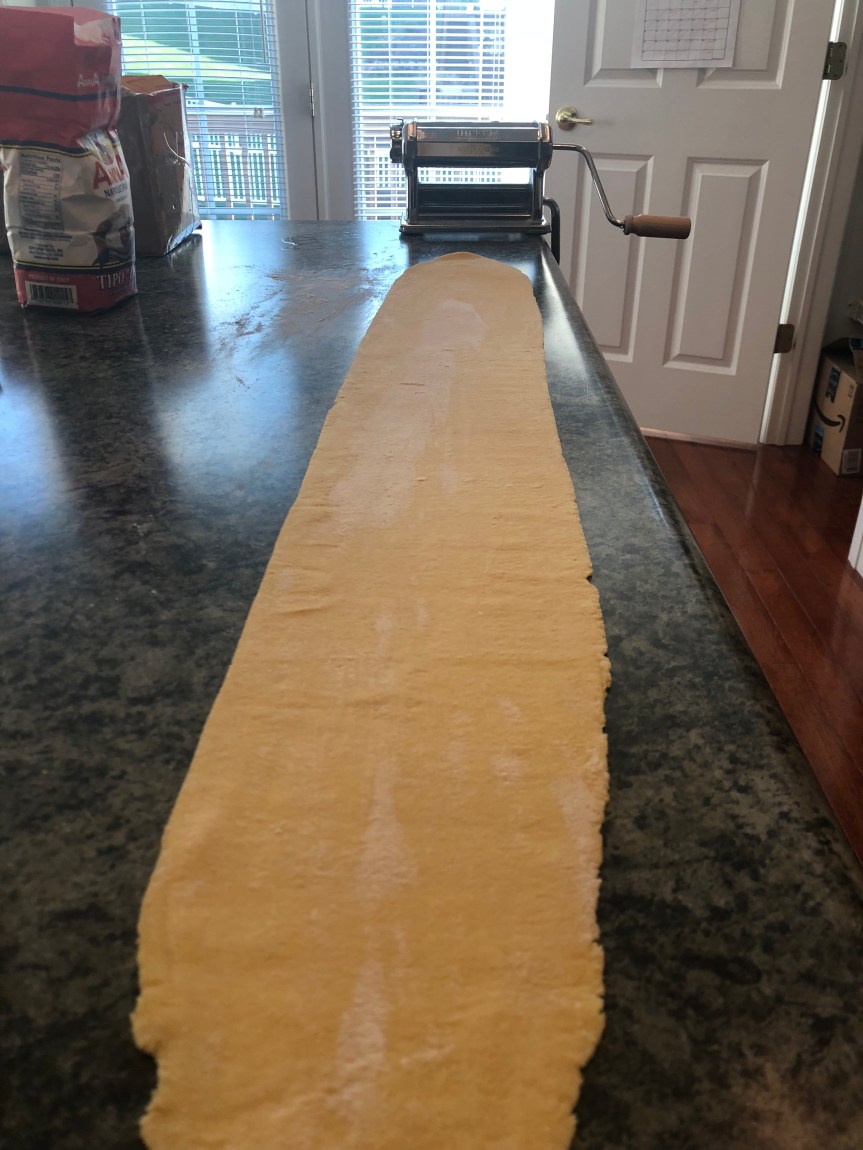
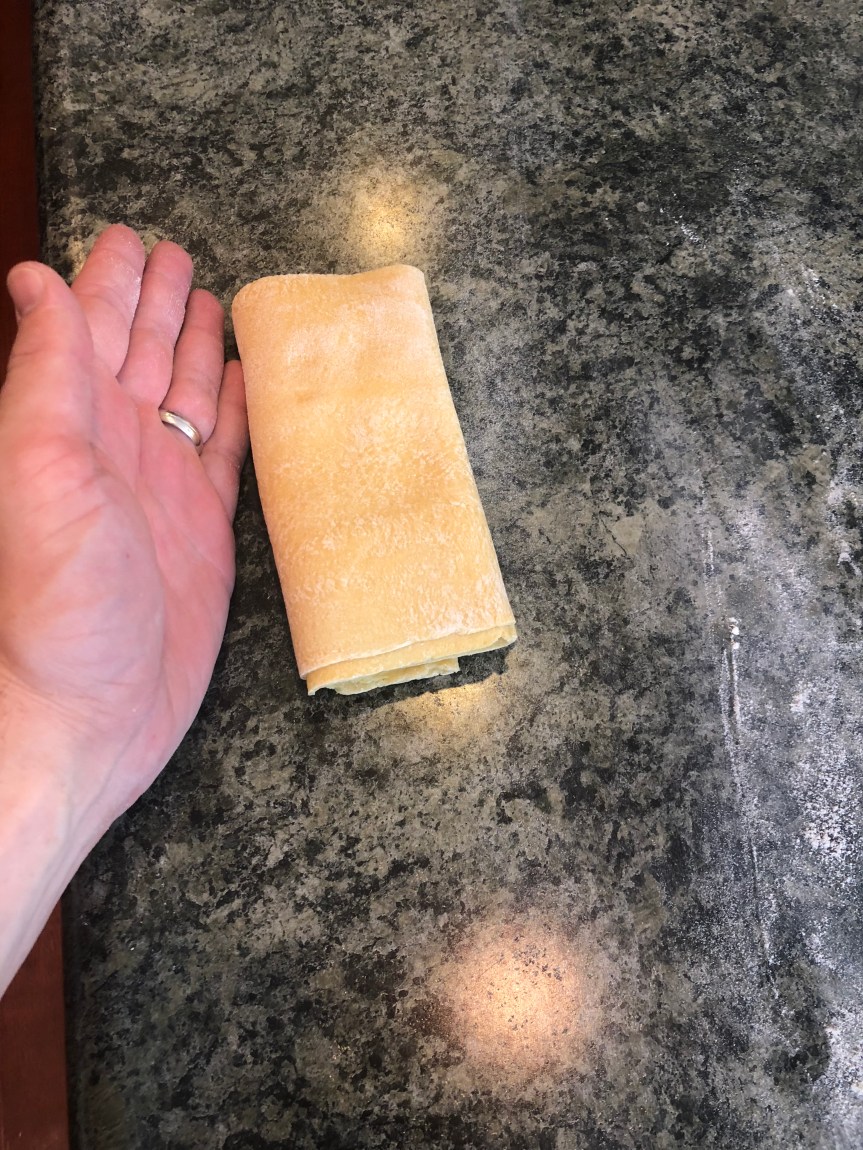
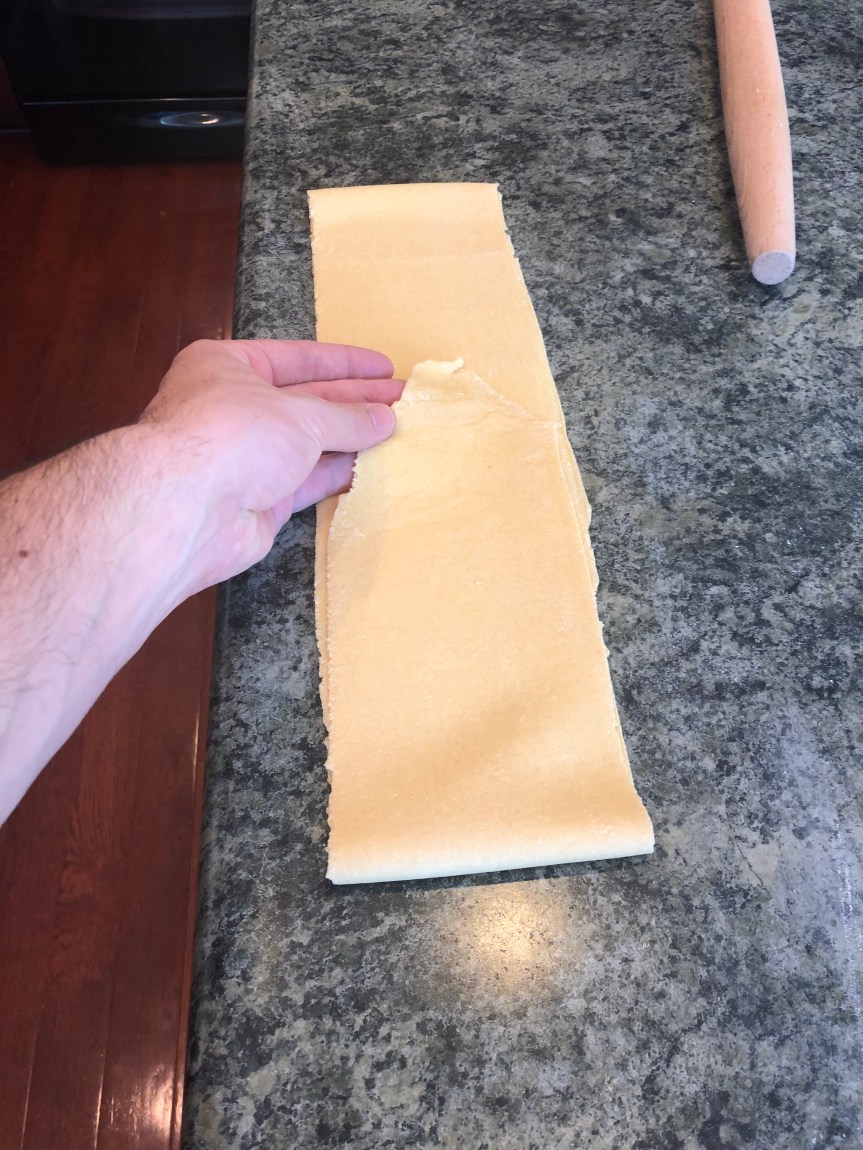
The next step may seem redundant, but it is extremely important in developing the gluten structure and creating the ‘al dente’ touch you are looking for. You are going to fold the dough in half.
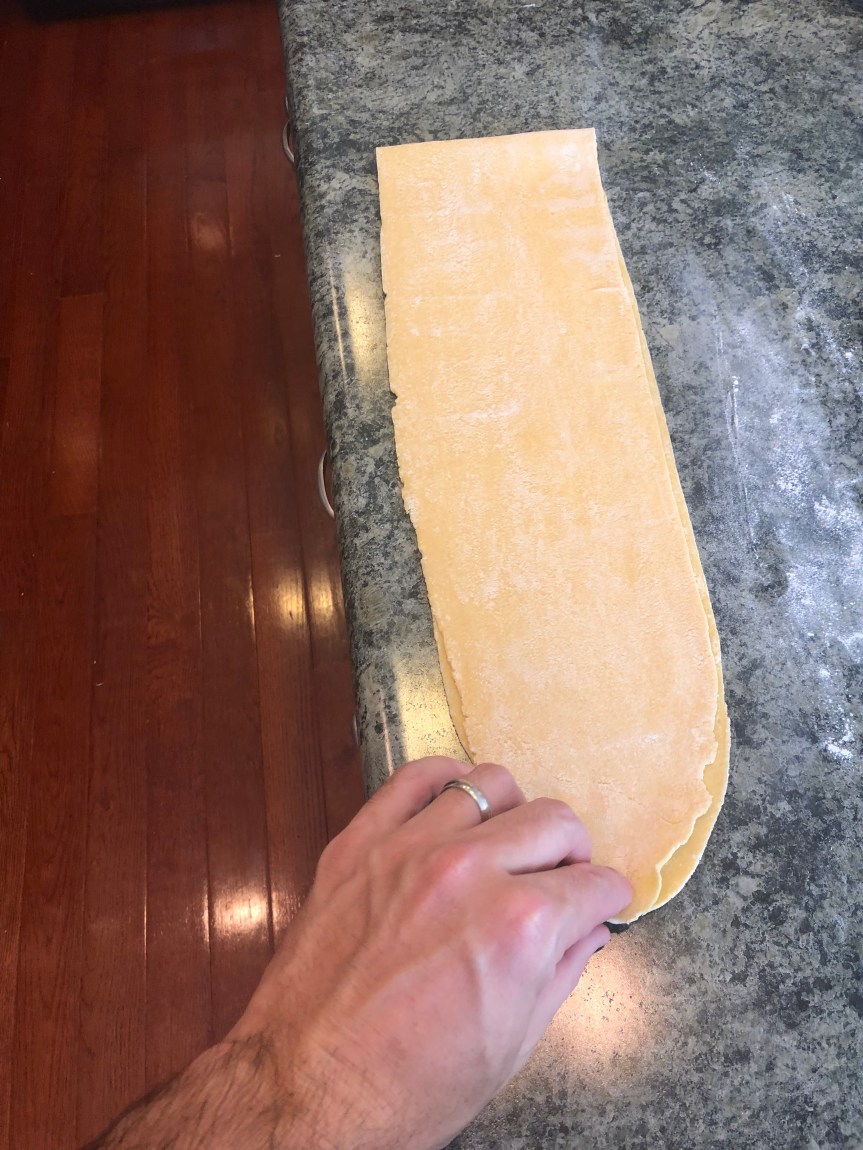
And Half AGAIN!
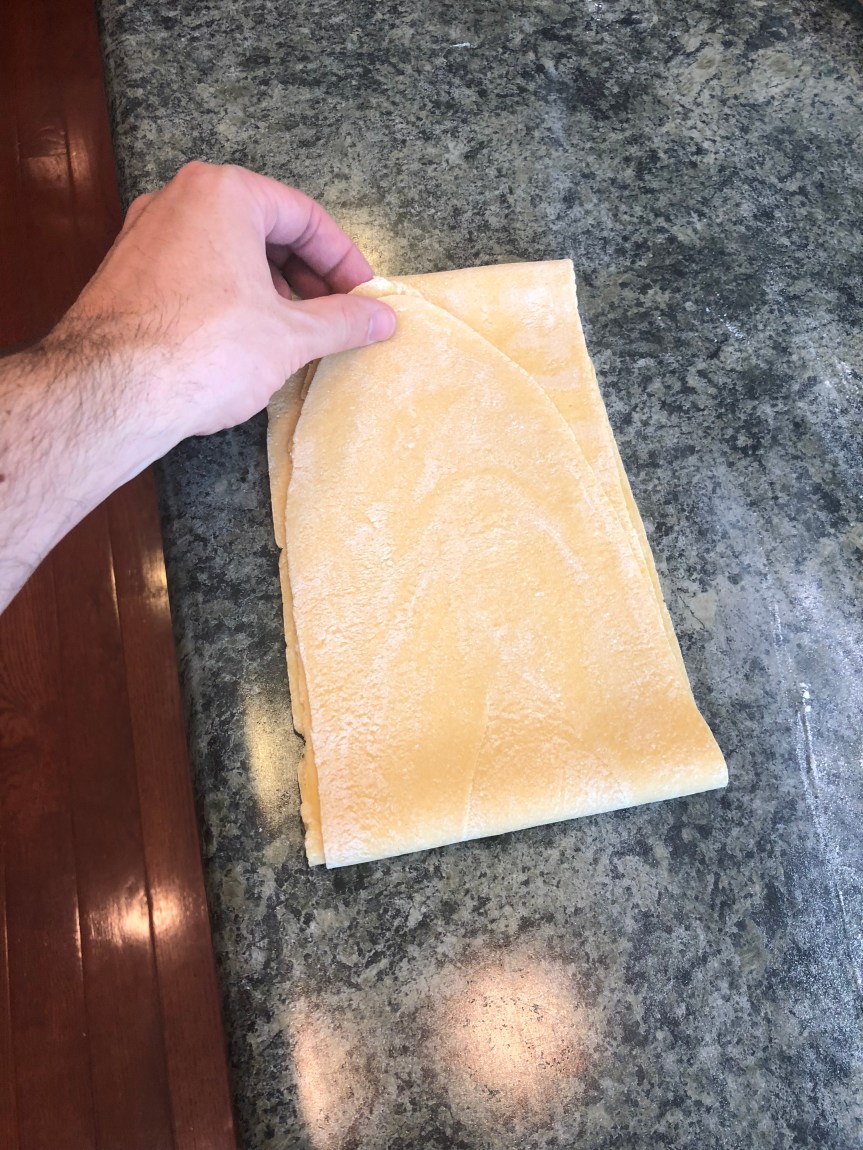
And Half AGAIN!

And Half AGAIN!

Until it is thin enough width wise to roll through the machine again
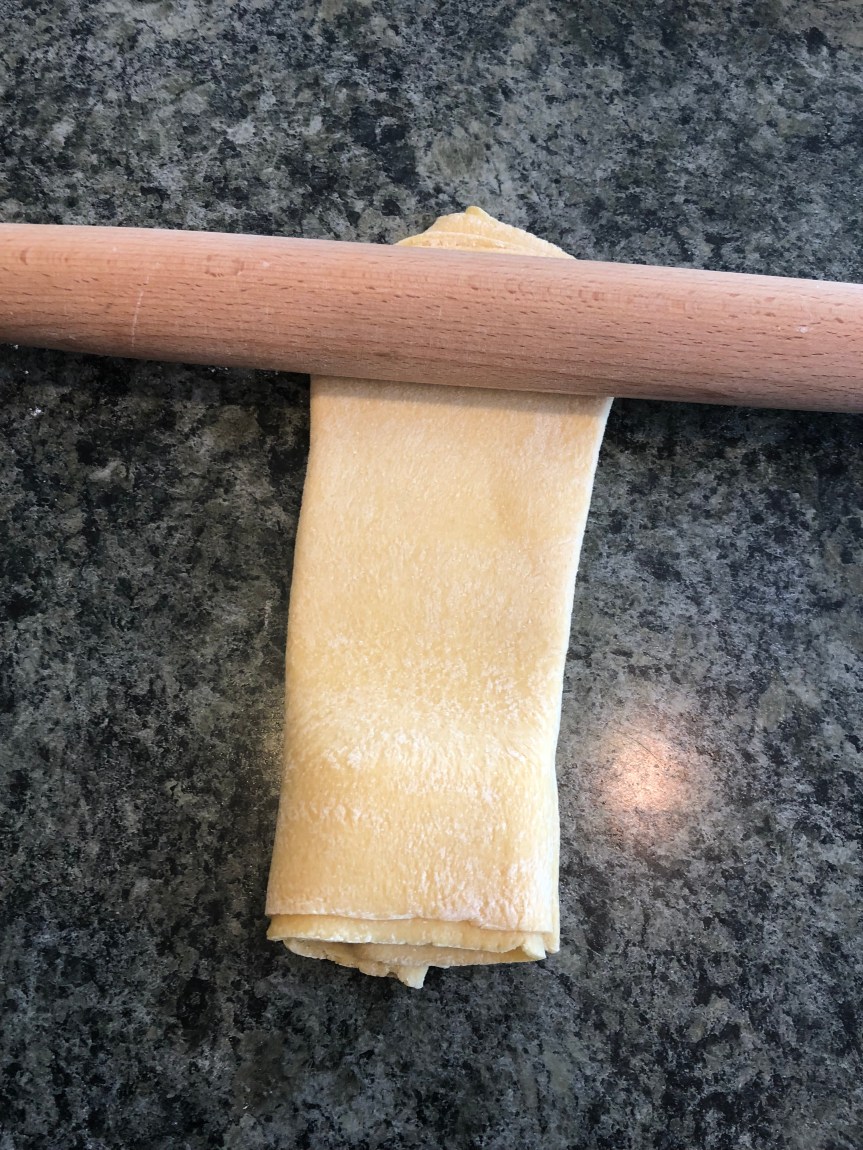
Get your rolling pin out and roll until it is thin enough to roll through the widest setting again. This is going to develop the structure (the more you work with the dough the more the gluten activates and strengthens) and it will also make the outside edges nice and uniform

Gradually roll through the machine as you did the first time, incrementally reducing the width each time through, run it through 2-3 times in this manner
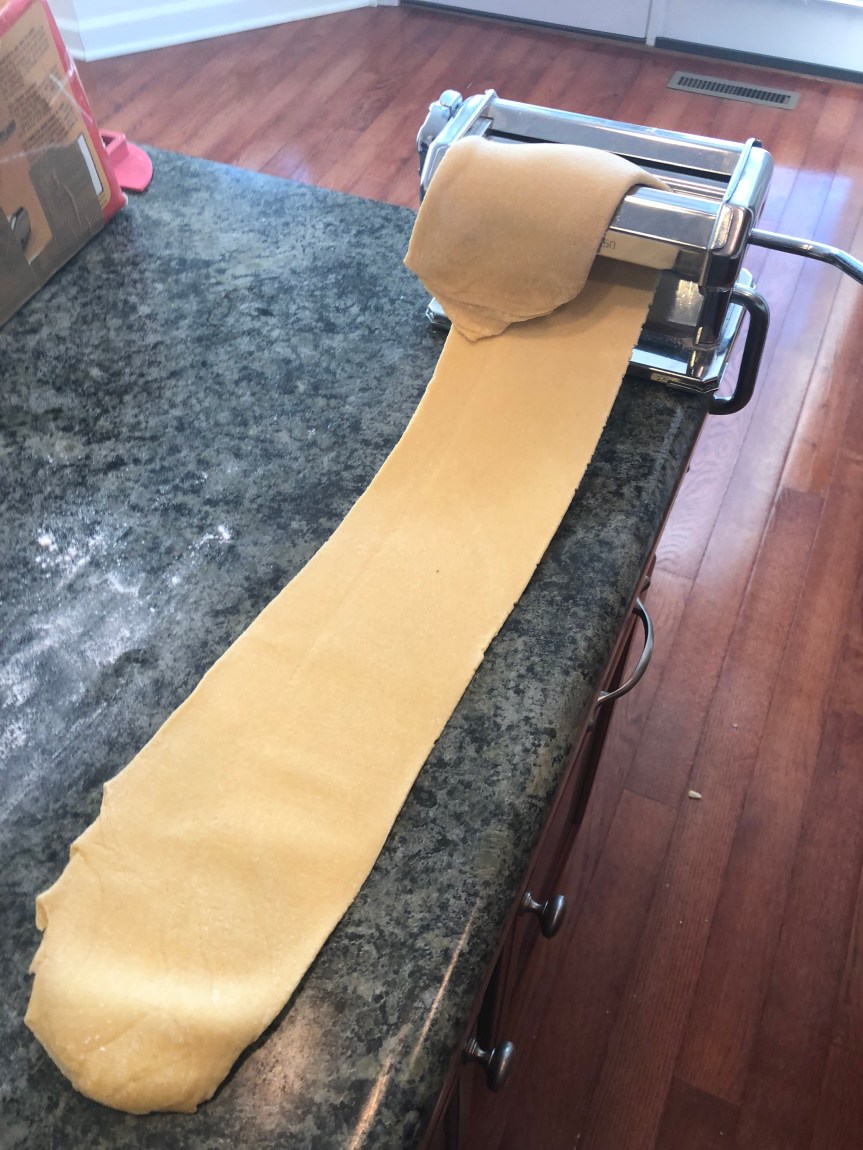
Now you see the edges are nice and uniform, but the ends are jagged and rough looking, so we will do another fold…
Fold one end 2/3 of the way
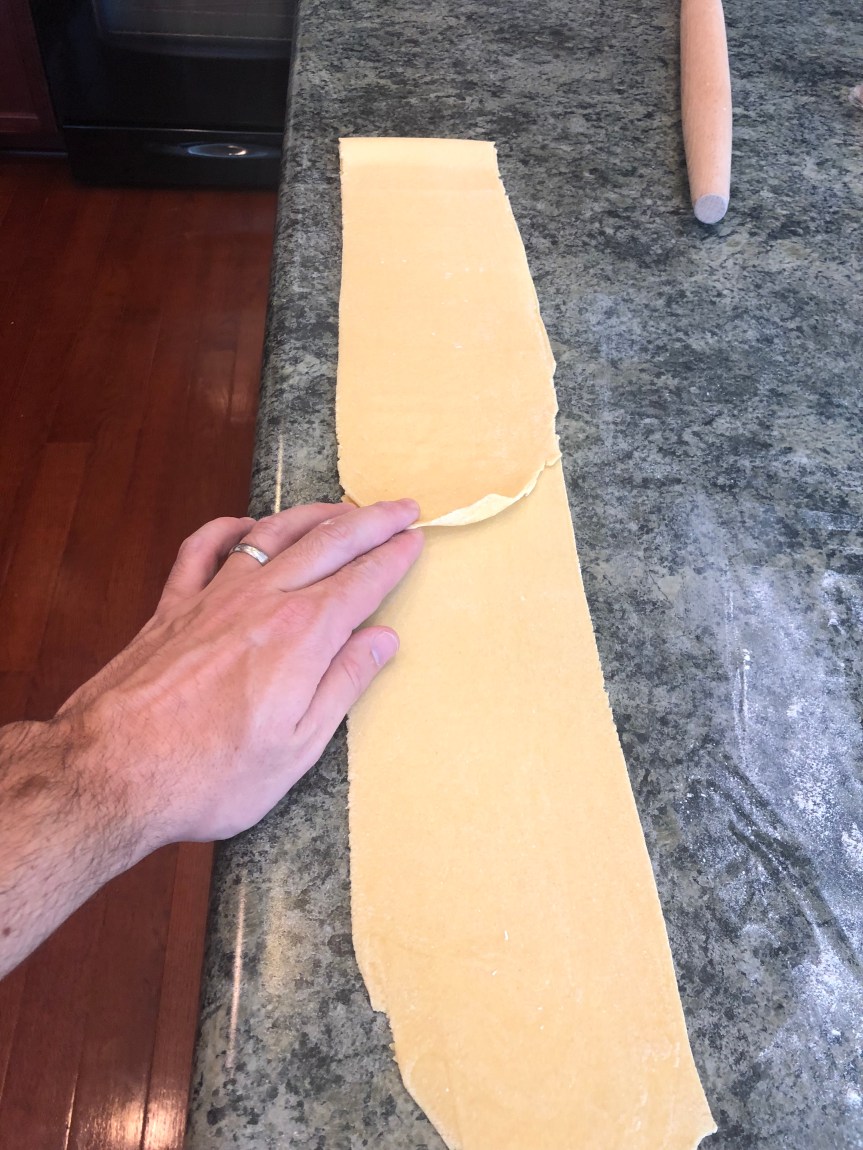
And the other end 1/3 of the way, meeting in the middle
Get your pin out, roll slightly (you won’t have to work to hard here, we are not folding it multiple times, so just make sure it sticks together and can fit through the widest setting again. Now the sides and each end should be more uniform as we roll the final time.

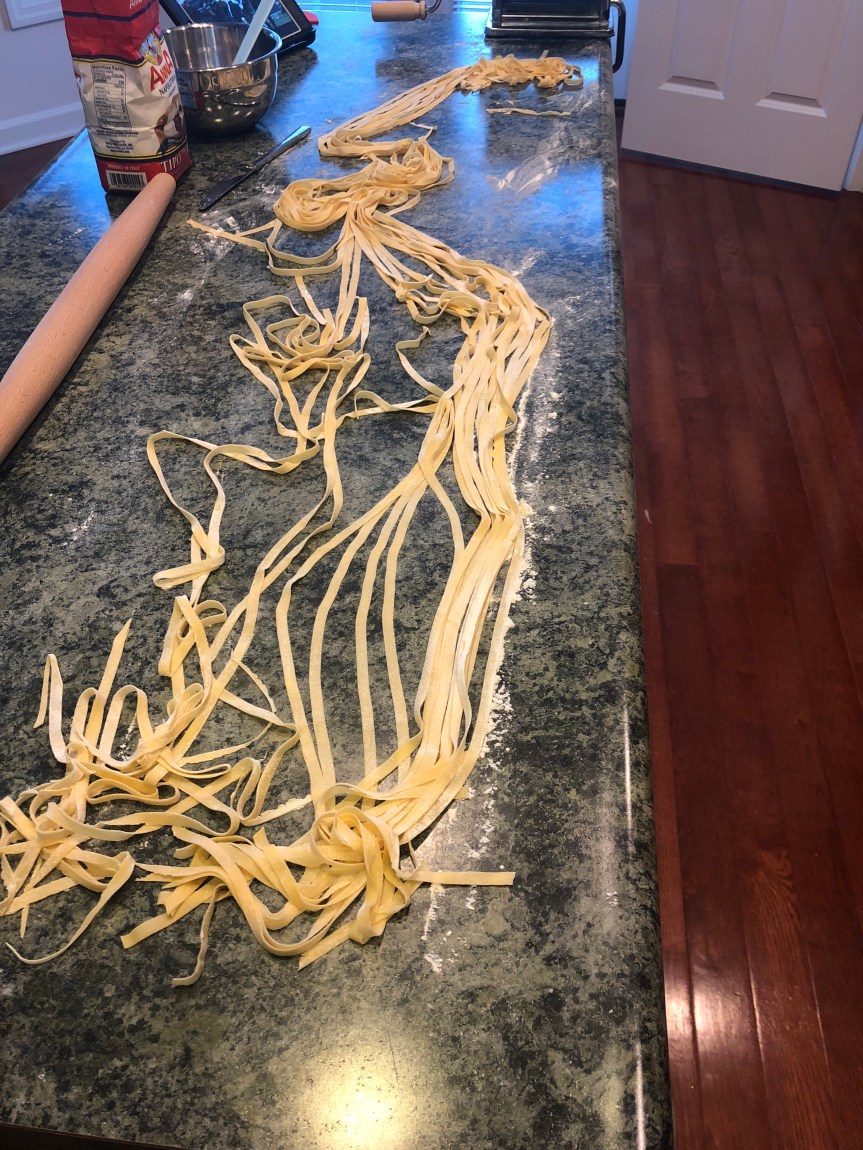
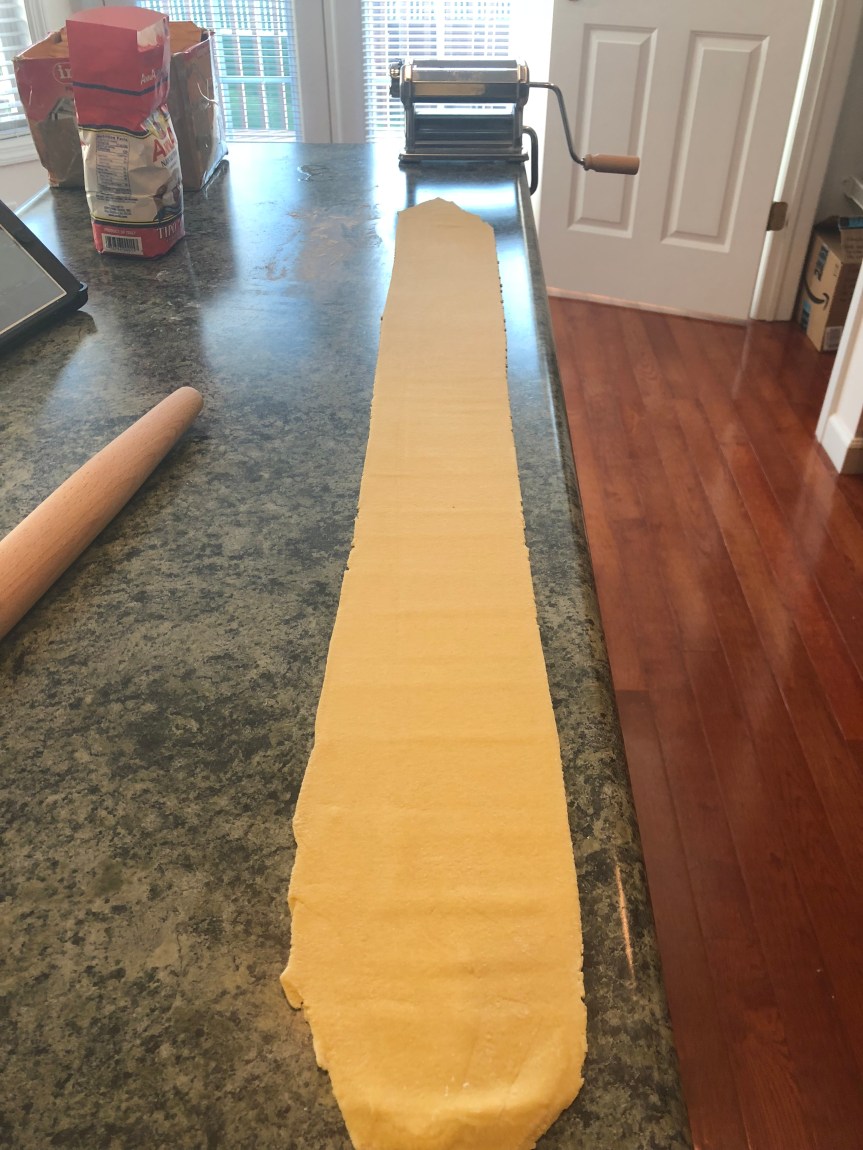
Incrementally reduce the thickness each step along the way once again, until you get to the final desired thickness, roll through the last setting twice and you will have a clean slate to work with. From here, you can cut into any shapes, strands, sizes, etc. that you want. Can be used for ravioli, lasagna, cannelloni, tagliatelle, fettuccini, agnolotti, tortellini, etc. etc. etc. Possibilities are endless. I rolled this batch into Tagliatelle, to go with the bolognese sauce I had prepared (that’s another blog at another time!)
Cut, portion, store in freezer for later use, use immediately, dry on a rack, whatever you prefer to do. From this state, the pasta only needs to cook in boiling water for 30 seconds to one minute before it can be finished in a sauce. buon appetito!